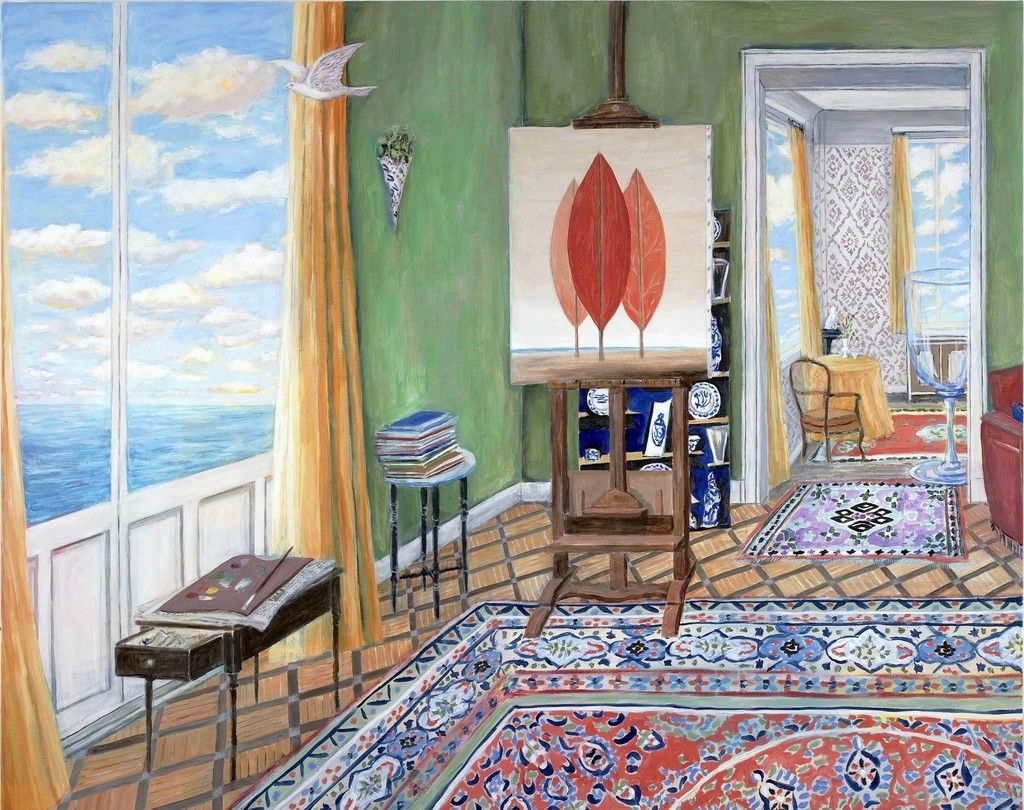
The following guidelines can help painters set up a functional and inexpensive studio in almost any room of a home.
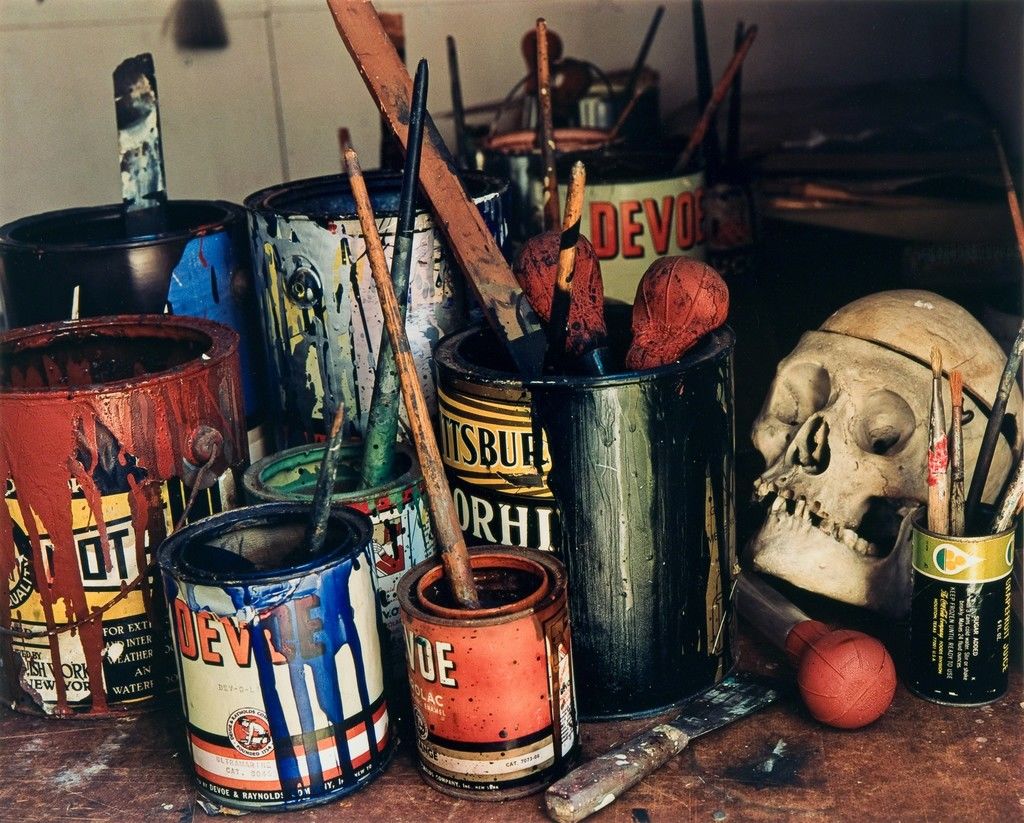
A studio of one’s own may seem like an unattainable and even undeserved luxury for many amateur painters. They might squeeze an easel into a corner of the family room or put it under a bare bulb in a closet. Or, they may choose to work in dim, unfinished basements or beside a car in the garage. Apartment dwellers who try to work at home often limit their artistic aspirations to avoid taking up space, working on small pieces and setting up makeshift workspaces they can pack up easily. What often drives aspiring painters to these unappealing scenarios is insecurity—the feeling that their art isn’t good enough to justify the cost of renting a studio or taking over a whole room. Ironically, though, claiming or creating a private studio space may lead artists to see improvements in both their work and their confidence. Find your own walls—and consider the wall colour
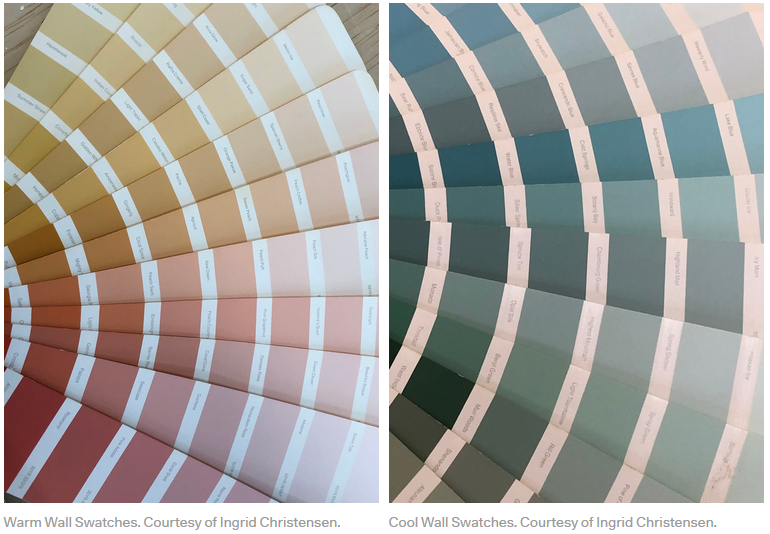
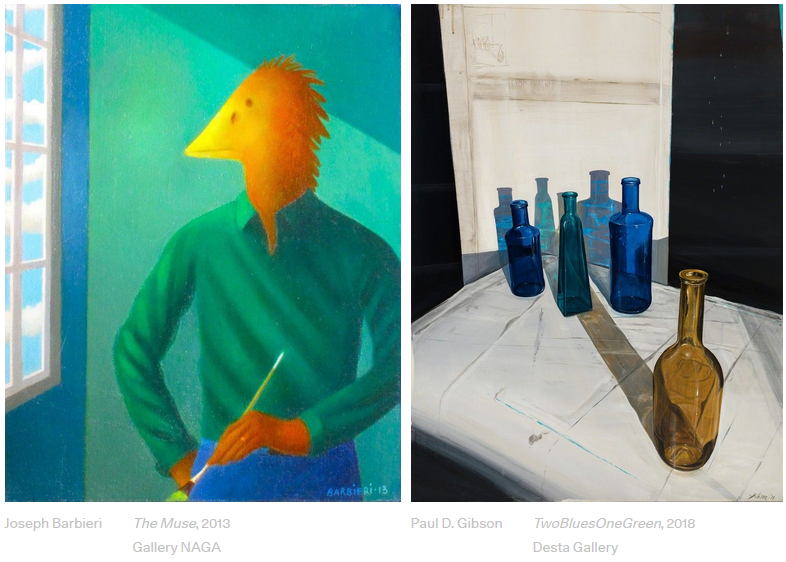
The ability to experiment away from the scrutiny of others is vital for an artist, so every studio should have walls of some kind. If a common room is the only space available, you may want to set up a screen or a curtain to create a partition between the public area and the painting space. But, if it’s an option, painters shouldn’t hesitate to claim a room with a door. By removing excess furniture and covering the floor with a plastic drop sheet, you can turn any room into a work space. Changing the wall color is a cheap and dramatic way to alter both the studio and your work. Since the walls reflect onto and visually surround your canvases, you may unconsciously echo the studio walls in your work. With this in mind, you may want to choose a wall color that will guide and enhance your work. Warm colors will lead to warmer palettes, and cool walls can inspire cool ones. Light-colored walls may encourage more colorful art, while dark walls may bring aboutRembrandt-esque drama. White is a versatile choice because it doesn’t skew work toward a particular color palette. Find the right light
Studio lighting also has a huge impact on the work you produce. It’s ideal to have a north-facing window in your studio if you live in the northern hemisphere, as north light fluctuates the least over the course of the day; while in the southern hemisphere, south-facing light works best. Though it’s enormously appealing to have natural light in the studio, it can be difficult to deal with. It tracks through the room during the day, and could give a false intensity to palette colors. Painters in this situation may end up blocking or diffusing the light with blinds. All is not lost, however, if your studio has no windows at all. Many artists find a way to work successfully under certain artificial lights. There are three main options for studio lighting: incandescent/halogen, fluorescent, and LED. Incandescent and halogen bulbs cast a yellowish light that can make accurate color mixing difficult. They also emit a lot of heat, which could be problematic in a small space. Fluorescent lighting is better for working with color, but the bulbs have a short lifespan, and they dim and flicker as they age. They also contain mercury, meaning that spent bulbs require special disposal as hazardous waste. LEDs may be your best option for studio lighting. They’re energy efficient, cool, and able to cast a bright, even light for up to 50,000 hours. Artists should look for a light with a high Color Rendering Index (CRI) to ensure that colors look accurate under its glow. A rating of 90 or more on this 1-to-100 scale is ideal. The size of the light is also something to consider. Though they’re a common choice, spot lights such as standing lamps or clamp lamps can be difficult to work with because they don’t illuminate the canvas evenly; they create a vignette of brightness while leaving the canvas edges in shadow. Instead, painters may want to opt for a light panel mounted to the ceiling to fill the studio with consistent, bright light from corner to corner. Invest in furniture that doubles as storage
No matter what the studio size, clutter can easily get out of control, making the space unpleasant to work in. To avoid the need to constantly tidy up, artists may want to purchase sturdy, multi-purpose furnishings that maximize storage. So instead of buying a table to hold a palette and brushes, a tool cabinet on wheels may be a better choice. It can serve as both a table and as drawer storage for paints, papers, and implements, and the wheels allow for quick and easy reconfiguring of the studio when needed. Additionally, painters may want to choose shelving designed for garage storage rather than home use, as it allows you to take advantage of their extra depth and load-bearing capability. The goal of any furnishing should be to keep the floor clear, allowing you to move easily through the space and to stand back and see your work from across the room. Stretched canvas is an awkward item to store because it’s both bulky and fragile. Simply leaning canvases against one another can inflict permanent dents. To protect them, painters should store their canvases separated in vertical slots or horizontal racks. Keep your health and safety in mind
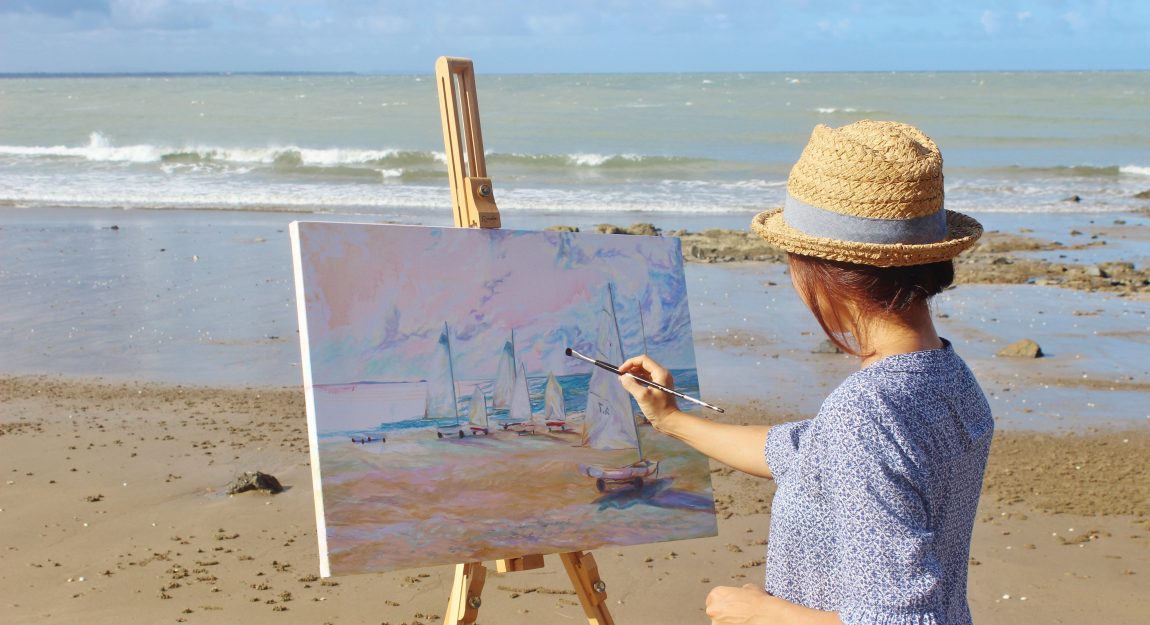
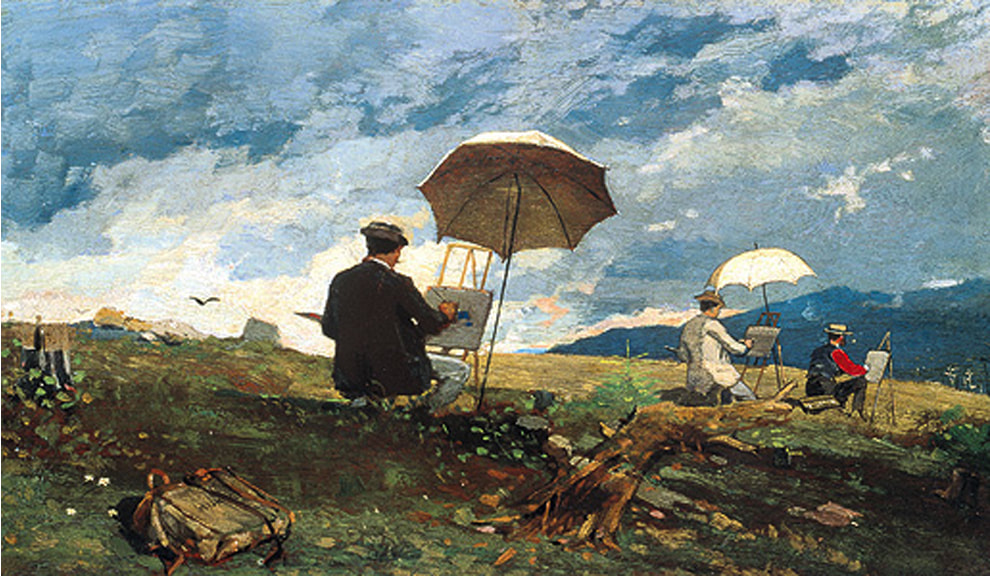
A concern for many artists when setting up a studio—especially if it’s in the home—is how to safely work with inherently toxic materials. The simplest solution would be for every painter to become a watercolorist (a medium that involves no hazardous fumes or combustibles), but that scenario is neither practical nor necessary. By educating yourself about your materials and making safety a priority, you can work with oils and acrylics in your home without anxiety or injury. (This comprehensive guide to safety in the painter’s studio should put artist’s minds at ease.) Setting up a painter’s studio can be a simple and inexpensive undertaking that brings enormous benefits. Away from the well-intentioned critiques of roommates and family members, you may find that you’ll be more likely to experiment and take creative risks, and ultimately grow as an artist. (Author: Ingrid Christensen) (Source: artsy.net) As the heat of Summer bears down on us, we thought it would be the perfect time to explore the ins and out(side)s of painting ‘en plein air’.
By: Matilda Jenkins (Bluethumb)
|
Categories |
